
For many of us, the allure of live television watching has diminished as our schedules become more demanding. The ability to pause, rewind, or record programs to watch at our convenience has become a standard expectation, not a luxury. This is precisely where IP television (IPTV) recording capabilities shine, offering a modern approach to time-shifting your favorite content. This comprehensive iptv recording guide will walk you through everything you need to know to set up and utilize IPTV recording, ensuring you never miss a moment of your favorite shows, be it live sports, crucial news updates, or binge-worthy series. We’ll explore the essential tools and methods, empowering you to take full control of your viewing experience and enjoy true TV flexibility.
Understanding IPTV Recording Functionality
Before diving into the setup, it’s crucial to understand how IPTV recording typically works. Unlike traditional broadcast TV where a set-top box might have a built-in DVR, IPTV recording often relies on software-based solutions or external devices that can capture the stream. This can be achieved through various methods:
Direct Recording via IPTV Apps
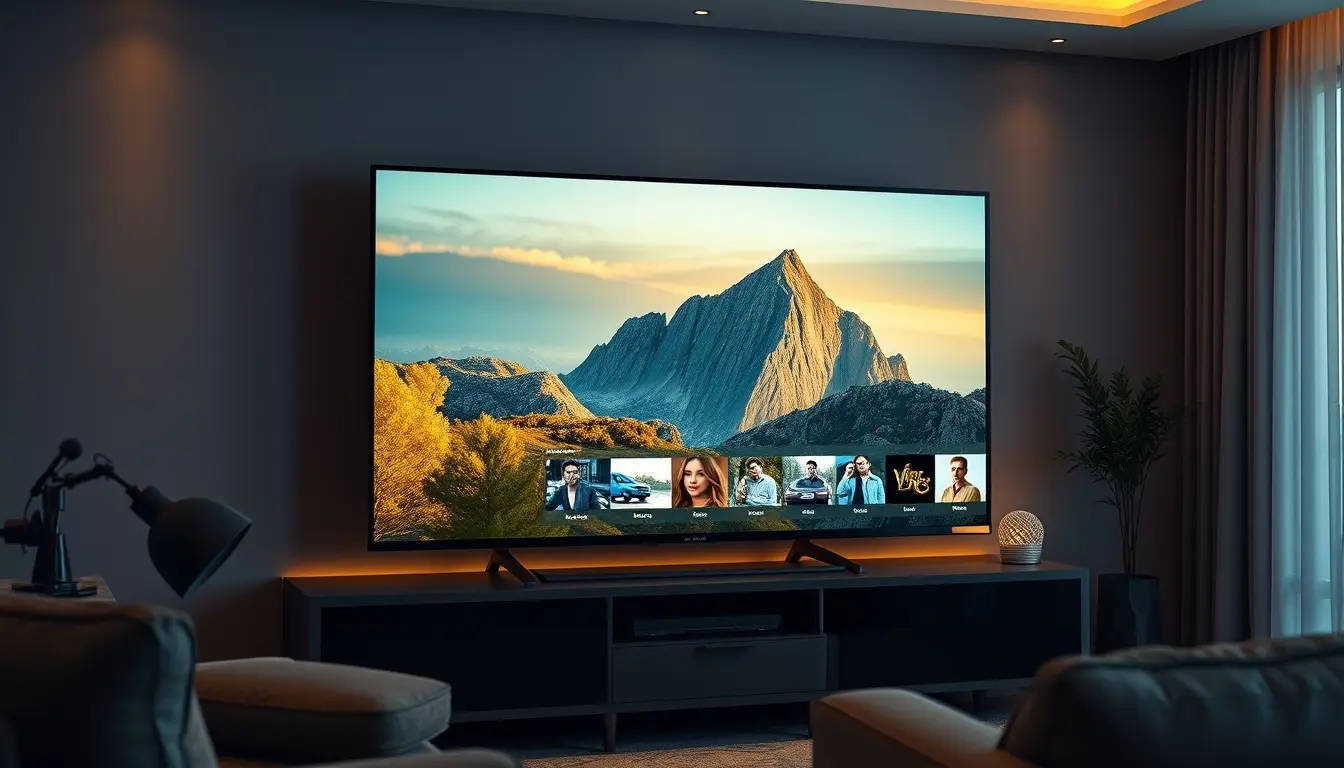
Many IPTV applications are designed with recording functionality built-in. These apps allow you to select a live channel or an upcoming program from an Electronic Program Guide (EPG) and initiate a recording directly. The app then captures the stream data and saves it to a storage location accessible by your device. The success and ease of this method heavily depend on the specific IPTV service provider and the app you are using. Some providers, like IPTVDIGI, focus on delivering a premium, stable streaming experience that also supports these advanced features within compatible applications.
External Recording Devices
For more advanced users or when an IPTV app lacks built-in recording, external devices can be employed. These can range from personal computers running specialized software to dedicated media players or even some smart TV capabilities that allow external storage. The key here is that your device needs to be able to receive the IPTV stream and have the processing power and storage capacity to record it without interruption.
Cloud DVR Functionality
Some IPTV providers might offer cloud-based DVR services. With this approach, your recordings are stored on the provider’s servers, freeing up your device’s storage space. This method is often more seamless but depends entirely on the provider’s offering. Always check with your provider, such as IPTVDIGI, if they offer cloud recording or support for services that enable it.
Essential Requirements for IPTV Recording
To successfully record IPTV streams, you’ll need a few key components and considerations:
A Reliable IPTV Subscription
The foundation of any IPTV experience, including recording, is a stable and high-quality IPTV subscription. Services like IPTVDIGI are known for their smooth streaming and reliable performance, which are crucial for uninterrupted recordings. A subscription that offers a wide range of channels and provides consistent playback across multiple devices is ideal. Consider plans that align with your viewing habits and the number of devices you intend to use for recording.
Compatible IPTV Player Application
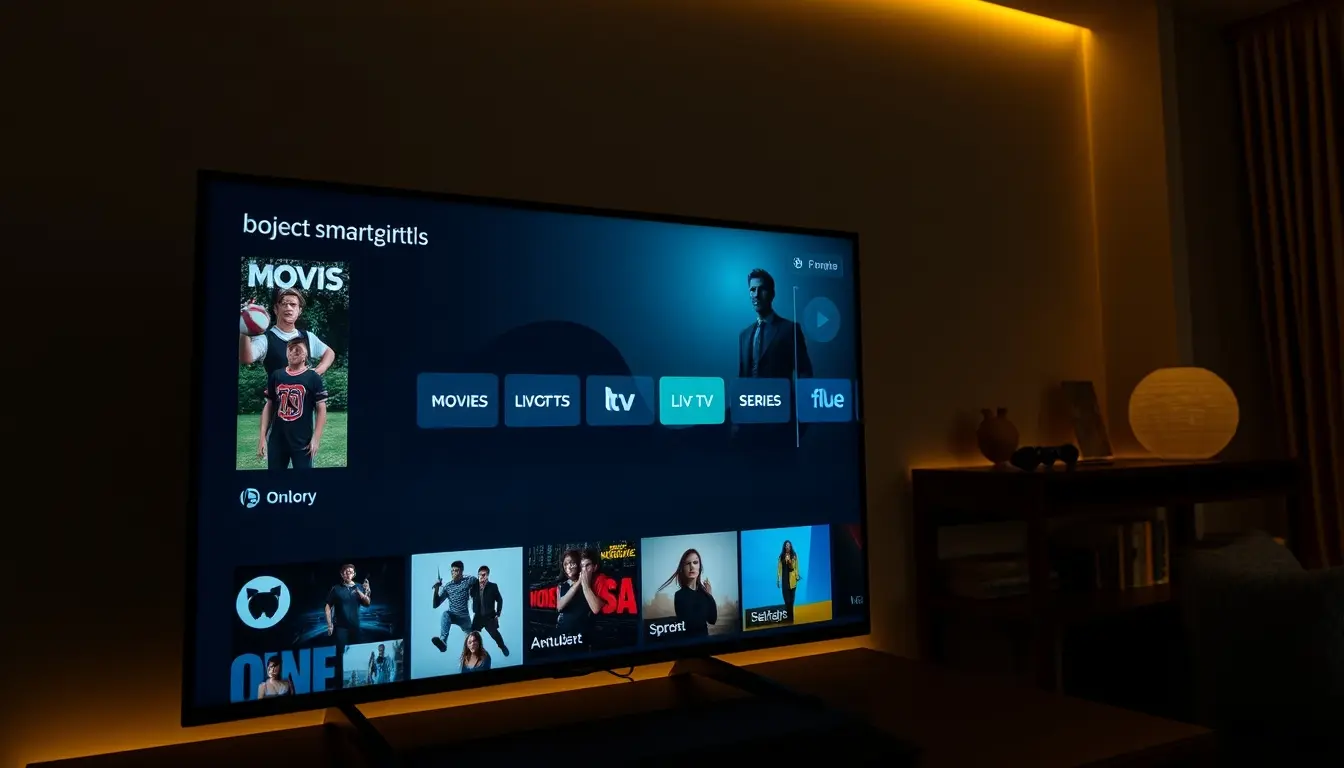
You’ll need an IPTV player app that supports recording. Popular choices include:
- IPTV Smarters Pro: Widely used for its user-friendly interface and robust features, including recording capabilities.
- TiviMate: A premium player known for its excellent EPG integration and smooth performance, which also supports recording.
- VLC Media Player: A versatile player that can handle numerous streaming protocols and can be configured for recording, though it might require more technical know-how.
- Kodi with PVR IPTV Simple Client: A powerful media center that can be customized with add-ons for IPTV playback and recording.
The availability of recording features within these apps can vary, and some may require specific configurations or premium versions.
Adequate Storage Space
Recording video streams, especially in high definition like 4K, consumes a significant amount of storage space. Ensure that the device you plan to use for recording has ample free space. This could be internal storage on an Android box, a hard drive on a computer, or an external USB drive. For PC-based recording, ensure your hard drive has plenty of gigabytes free, as uncompressed or high-quality recordings can quickly fill up space.
A Stable Internet Connection
This is perhaps the most critical component. For seamless recording, you need a stable and fast internet connection. Buffering or interruptions during playback will directly translate into corrupted or incomplete recordings. A wired Ethernet connection is generally more reliable than Wi-Fi for consistent streaming and recording.
Supported Device
The device on which you’ll be running your IPTV player and performing the recording needs to be capable. This includes:
- Android TV Boxes and Fire TV Sticks: These are popular choices for IPTV, and many support recording to attached USB storage or internal memory.
- Smart TVs: Some newer smart TVs have limited recording capabilities, often requiring an external USB drive.
- Computers (Windows/Mac): PCs offer the most flexibility, allowing the use of powerful recording software and ample storage.
- Smartphones and Tablets (Android/iOS): While possible, recording on mobile devices is often less practical due to limited storage and potential battery drain, but apps exist.
Setting Up IPTV Recording: A Step-by-Step Approach
The exact setup process will vary depending on your chosen IPTV player app and device. However, the general steps remain consistent. We’ll use IPTV Smarters Pro on an Android TV box as a common example, as it’s a widely adopted solution.
Step 1: Install and Configure Your IPTV Player
1. Install the App: Download and install your chosen IPTV player (e.g., IPTV Smarters Pro) from your device’s app store or by sideloading the APK file if necessary.
2. Add Your IPTV Playlist: Open the app and navigate to the section for adding playlists or accounts. You will typically need to enter your IPTV username, password, and playlist URL (Xtream Codes API is common) provided by your IPTV service provider. IPTVDIGI typically provides these details promptly after subscription.
3. Verify Connection: Once entered, the app should connect to your IPTV service and load the channel list along with the EPG.
Step 2: Configure Recording Settings
Most IPTV players have a dedicated settings area for recording.
1. Locate Recording Settings: Within the app’s settings menu, look for an option related to “Recording,” “DVR,” or “PVR.”
2. Set Recording Path: This is crucial. You need to specify where the recorded files will be saved.
* Android Devices: For Android TV boxes or Firesticks, you’ll often need to select an external USB drive that is formatted and recognized by your device, or an internal storage folder. Ensure the app has permission to write to this location. Some devices may require specific permissions for storage access.
* Computers: On a PC, you can select any folder on your hard drive or an attached external drive.
3. Recording Quality: If available, choose your desired recording quality (e.g., SD, HD, 4K). Be mindful that higher quality requires more storage and a stronger internet connection.
4. EPG Settings: Ensure your EPG is properly loaded and synchronized. This is essential for scheduling recordings from the guide.
5. Time Shifting (Catch-Up TV): Some apps allow you to enable time-shifting, which continuously buffers live TV for a set period, letting you pause and rewind live broadcasts. This is different from scheduled recording but uses similar underlying technology.
Step 3: Scheduling a Recording
With the app configured, recording is straightforward.
1. Access the EPG: Navigate to the Electronic Program Guide within your IPTV player.
2. Select a Program: Browse through the guide to find the show or event you wish to record.
3. Initiate Recording: Select the program. You should see an option to “Record” or “Schedule Recording.”
4. Confirm Recording: The app will likely ask you to confirm the recording, often offering options to record just this episode, all episodes of a series, or until the end of the program.
5. Check Scheduled Recordings: Most apps have a section where you can view all your scheduled recordings, allowing you to manage or cancel them.
Step 4: Playing Back Recordings
1. Access Recorded Files: Navigate to the “Recordings,” “DVR,” or “Media” section within your IPTV player.
2. Select and Play: You should see a list of your recorded files. Select the one you want to watch and press play.
3. Troubleshooting Playback: If a recording doesn’t play, ensure the file is not corrupted. This can happen due to internet interruptions or insufficient storage during the recording process.
Advanced IPTV Recording Tips and Considerations
To ensure the best possible recording experience, here are some valuable iptv recording tips:
Optimize Your Network for Stability
- Wired Connection: Whenever possible, use an Ethernet cable to connect your IPTV device to your router. This provides a more stable and faster connection than Wi-Fi, minimizing the risk of dropped streams and corrupted recordings.
- Router Placement and Settings: If using Wi-Fi, ensure your router is centrally located and free from interference. Consider using higher frequency bands (5GHz) if available and within range for better speed, though 2.4GHz offers wider coverage.
- Bandwidth Management: Avoid heavy downloading or uploading on your internet connection while recording. Other devices on your network should also be mindful of bandwidth usage.
Choose the Right Storage Solution
- External USB Drives: For Android boxes and Firesticks, a reliable USB 3.0 drive or SSD is recommended for speed and durability. Ensure it’s formatted correctly (e.g., EXT4 or NTFS for Linux/Android, though FAT32 might be required for older systems but has file size limitations).
- Network Attached Storage (NAS): For PC-based setups or advanced users, a NAS can provide centralized storage and accessible recordings across multiple devices.
- Internal Storage: If your device has a large internal storage capacity, it can be a convenient option, but be mindful of not filling it completely, which can slow down device performance.
Software and App Specifics
- Updates: Keep your IPTV player apps and device firmware updated. Updates often include performance improvements and bug fixes, which can enhance recording stability.
- Permissions: Ensure your chosen app has all the necessary permissions, especially for storage access.
- Background Recording: Understand if your app supports recording while the app is in the background or if the device must stay on the app in use. Some apps might stop recording if you switch to another application or turn off the screen.
Legal and Ethical Considerations
- Copyright: Always be mindful of copyright laws. Recording content for personal, offline viewing during times of unavailability is generally accepted for personal use. However, distributing or sharing copyrighted recordings is illegal.
- Service Terms: Familiarize yourself with your IPTV provider’s terms of service regarding recording. Some services may have restrictions.
When Your IPTV Service Supports Recording Seamlessly
While many IPTV providers offer a broad range of channels, not all are optimized for features like recording. Providers that emphasize stability and consistent streaming, like IPTVDIGI, often ensure their service is compatible with popular IPTV players that support PVR functionality. Their focus on smooth playback and reliability means that when you set up recordings through compatible apps, the chances of a successful, high-quality recording are significantly higher. This premium experience is exactly what users seek for hassle-free time-shifting.
If you’re exploring options for reliable IPTV services that accommodate recording, it’s worth looking into providers that highlight performance and compatibility. Understanding the features and value of different subscription plans is key. For those on a budget or looking for great value, there are often ways to get the most out of your subscription; you can learn more here about finding affordable IPTV plans. Exploring deals and discounts can also make a premium service more accessible, and you might find an additional resource for special offers.
Troubleshooting Common IPTV Recording Issues
Even with the best setup, you might encounter problems. Here are common issues and their solutions:
Issue: Recordings are Corrupted or Incomplete
- Cause: Unstable internet connection, insufficient storage space, or the recording process was interrupted.
- Solution:
* Ensure a stable, wired internet connection.
* Verify you have ample free storage space before starting a recording.
* Close unnecessary applications on your device.
* Try recording at a lower quality if your connection is borderline.
Issue: Cannot Schedule or Start Recordings
- Cause: Incorrect app configuration, insufficient permissions, or incompatible app/device.
- Solution:
* Double-check your IPTV login details and playlist URL in the app.
* Ensure the recording path is correctly set and the app has write permissions.
* Restart your IPTV player app and your device.
* Try a different IPTV player app that is known to support recording.
* Confirm your IPTV subscription actually allows for recording features if it’s a feature limitation from the provider.
Issue: Recordings are Laggy or Stuttering
- Cause: The device is struggling to process the stream while recording, or there are network issues.
- Solution:
* Lower the recording quality (e.g., from 4K to 1080p).
* Ensure your device is not overheating or running too many background processes.
* Check your internet speed and stability again; even a minor fluctuation can cause stuttering.
* Use a faster external storage medium if you’re using a slow USB drive.
Issue: EPG Not Loading or App Showing No Recording Option
- Cause: EPG data not being downloaded correctly, or the specific IPTV player version doesn’t support recording.
- Solution:
* Refresh the EPG data within the app.
* Ensure your IPTV provider supplies EPG data with your subscription.
* Try a different IPTV player known for excellent EPG and PVR support (e.g., TiviMate).
* Confirm that the IPTV service itself doesn’t block recording capabilities.

Conclusion: Mastering Your TV Time with IPTV Recording
Embracing IPTV recording transforms your viewing habits from reactive to proactive. With a reliable IPTV service like IPTVDIGI, a compatible player app, and careful setup of your recording environment, you can unlock the full potential of time-shifting. This empowers you to catch up on missed programs, record live events to watch on your own schedule, and enjoy a truly personalized entertainment experience. By following this IPTV recording guide, you’re well-equipped to overcome potential hurdles and ensure your TV time is always seamless and on your terms. Remember, the key lies in stability, compatibility, and sufficient resources.
Frequently Asked Questions About IPTV Recording
### Can I record IPTV on any device?
While recording is possible on many devices, the ease and capability vary. Android TV boxes, Fire Sticks, computers, and some Smart TVs are the most common and practical devices for IPTV recording, especially when paired with external storage or sufficient internal space. Mobile devices can also record but are less convenient for extensive viewing.
### Do I need a special IPTV subscription for recording?
Not necessarily. Most standard IPTV subscriptions that provide stream URLs and credentials will work with PVR-capable IPTV player apps. The key is that your subscription must be stable and reliable. Services like IPTVDIGI offer a premium experience that supports such features through compatible players.
### How much storage space do I need for IPTV recordings?
This depends heavily on the quality of the stream and the duration of the recording. A typical HD recording can consume several gigabytes per hour. For 4K recordings, expect much higher usage. It’s advisable to have at least 50-100GB free for casual recording, and significantly more for extensive archiving.
### What’s the difference between Time Shifting and Recording?
Time shifting (or catch-up TV) typically involves a temporary buffer that allows you to pause, rewind, and fast-forward live TV for a limited period. True recording saves the content permanently to a storage device, allowing you to watch it later, independent of the live broadcast schedule. Many IPTV apps support both functionalities.